Tips for using intraoral cameras enhance the patient education experience
BY Kellie R. Kennedy, RDH, BS, and Frederika A. Raizberg-Lies, RDH, BS
Intraoral cameras have become an indispensable part of the dental office visit. Many dental hygienists use digital imaging as a way to educate the patient. Intraoral cameras are easy to use with precise magnified photos that are important for documentation, as well as to monitor changes or current conditions all while staying paperless in today's technology.
Displaying the images on an operatory screen or computer monitor opens the door to communication between the clinician and patient about current oral health. This enhances the overall experience and education of the dental appointment. High resolution photos from the digital camera can be integrated into the digital radiograph software, so all patient images are stored in a well-organized paperless chart. The cameras are small and lightweight, and some are wireless, allowing for increased portability throughout the office, increasing ease for allowing all patients to benefit from the intraoral camera.
What should you take photos of? I tell my colleagues and students, "Anything and everything!" The length of opportunities is long, including extrinsic staining, supragingival calculus, gingival inflammation, gingival recession, class five abfractions, arch relationships, occlusal classification, occlusal fissures, enamel wear facets or patterns, bonded lingual retainers, restoration margins, oral pathology lesions, partially erupted teeth in adult or pediatric patients, and any signs of decay. Photos provide detailed documentation for insurance companies and lab technicians for esthetics. It is also important to take photos of healthy tissues as patients consistently express interest in seeing how they have improved their oral health since the last visit; thus, using the intraoral camera is an excellent motivational instrument.
The images displayed on the monitor for the patients' benefit to learn about their needs can also help with case acceptance. Most often, I am able to enlarge a digital photo of an older amalgam restoration with open margin(s). The patient can then see and clearly understand why the tooth would benefit from a new restoration. Dentistry is not common knowledge, so the images are critical in order to convey the need for treatment and build a trusting, valuable relationship between clinician and patient.
To get the best photos, you need to have a dry field, appropriate fitting barrier sheath, and a steady hand. Too much moisture or saliva on the tooth can cause a glare, taking away from the detail of the image. Use the low-speed patient suction and air syringe in order to make the area dry. If the barrier sheath is not snug, the plastic can make the image blurry, and you will lose the desirable crisp detail. Make sure your focal point is centered and your fulcrum is firm in order to have a diagnostic image.
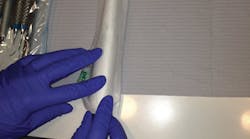
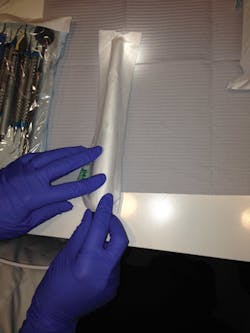
A sheath is used to avoid cross-contamination.
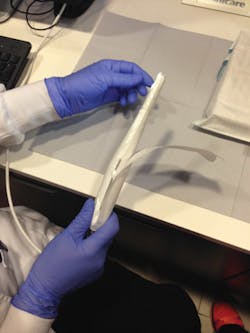
The clinician makes sure the sheath is on correctly and snug to avoid blurry images.
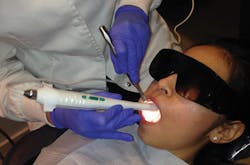
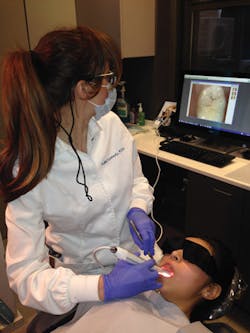
The comfortable manipulation of the intraoral camera allows for patients and clinicians to inspect the oral cavity.
The clinician easily obtains a clear visual on the screen in the area of interest.
Mastering your skills may take some time - practice, practice, practice! The benefit of taking quality intraoral photos sets a high standard of care for the hygienist and the dental practice. The patients will literally see the value of their appointment time with you. RDH
Kellie R. Kennedy, RDH, BS, is a full-time clinical instructor at New York University College of Dentistry and also practices dental hygiene in New York, N.Y.
Frederika Leis, RDH, BS, is an adjunct clinical instructor at New York University College of Dentistry and also practices dental hygiene in New York, N.Y.
